Backyard Wheat Growing: From Seed to Sourdough Loaf
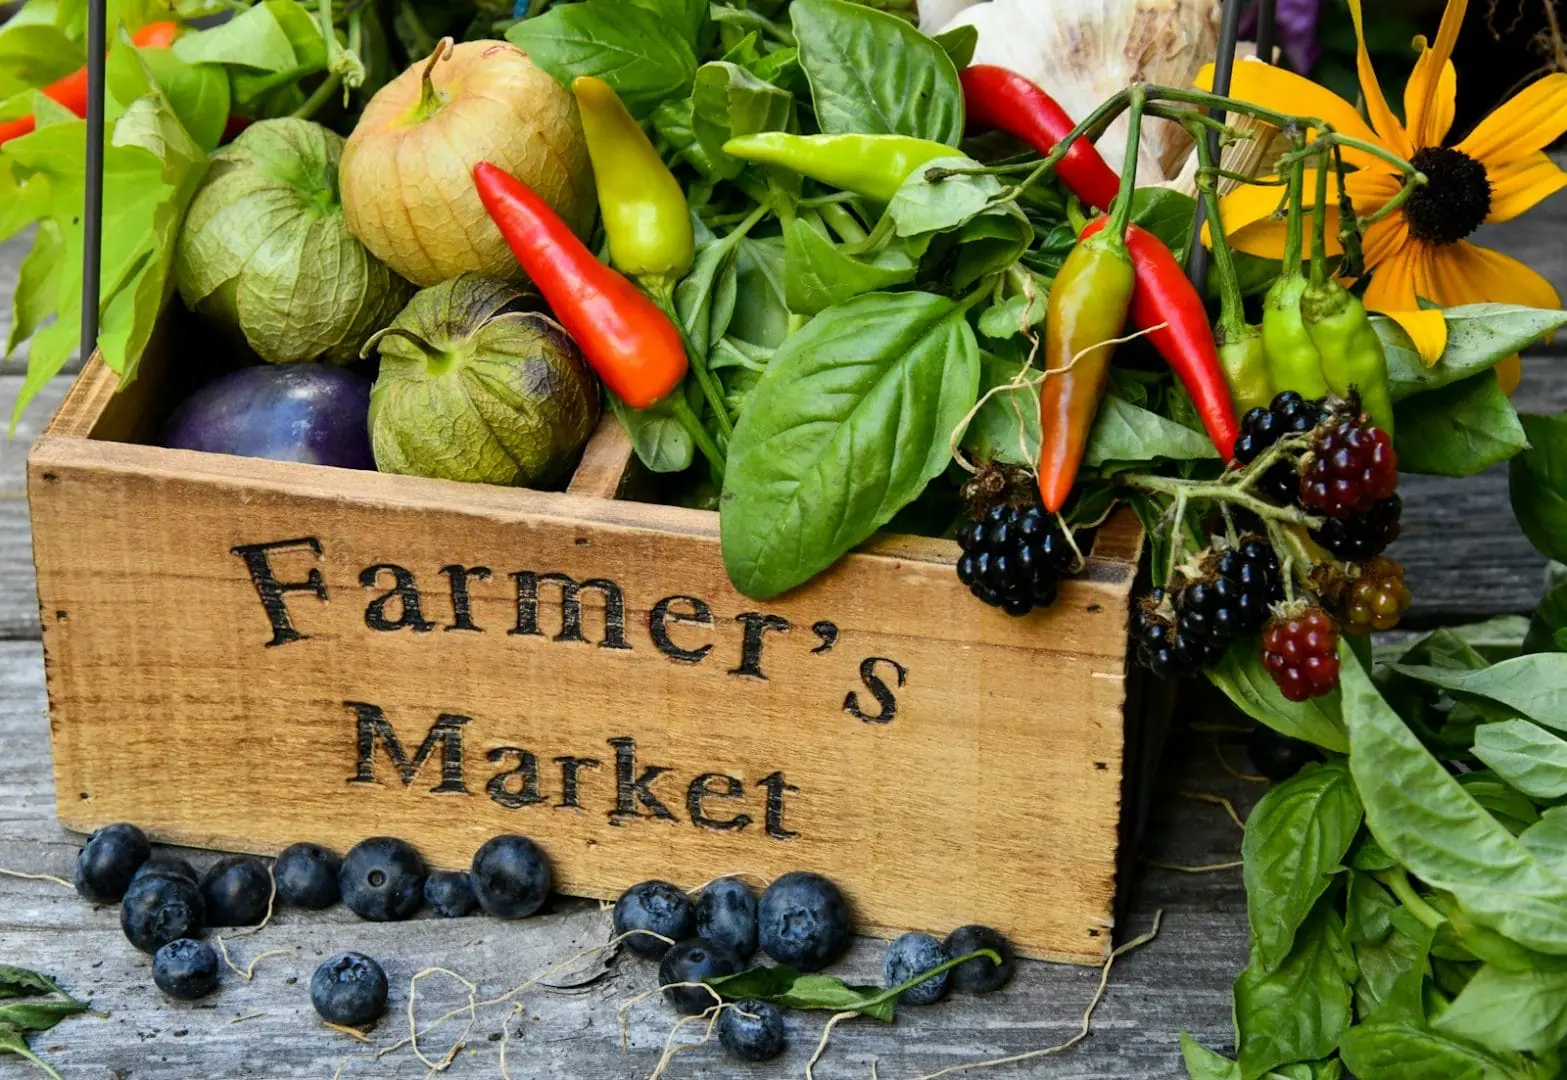
Farm To Table

Learn how to grow wheat in your backyard, harvest your own grain, mill fresh flour, and bake a truly homegrown loaf of bread.
Have You Ever Wondered If You Could Grow Your Own Flour?
Imagine pulling a beautiful sourdough loaf from the oven and telling your family:
“I grew the wheat myself.”
That usually stops people in their tracks.
Most folks picture wheat growing on massive farms stretching across the Midwest. But here’s the surprising part—wheat is one of the easiest grains you can grow right in a backyard garden.
Now, you’re probably not going to replace every bag of flour in your pantry. But you can grow enough wheat to bake a few meaningful, fully homegrown loaves each year—bread that truly goes from seed to sourdough under your care.
It seems like there would be something deeply satisfying about that.
Whether you’re a backyard gardener, a baker, a homesteader, or just someone curious about where food really comes from, growing wheat is one of those projects you tackle because you want to see if you can.
Why Grow Wheat at Home?
You’ll Experience the Entire Food Journey
Most of us grow tomatoes, lettuce, maybe a few herbs. Wheat takes things a step further.
You’re not just harvesting—you’re participating in one of the oldest food traditions on Earth. From seed to loaf, it’s the full story.
Wheat Adds Beauty to the Garden

Wheat isn’t just practical—it’s honestly gorgeous. Growing flour along with flowers – who’d a thunk it? Now, unless you have acres to spare, it is unlikely that you will want a huge field of wheat to plow, but a nice-sized garden box to try it out, sign me up.
It starts as a soft green carpet in early growth, then slowly shifts into tall green stalks, and then bakes in the summer sun, into golden stalks that catch the light and move with the breeze. Growing wheat adds motion and texture in a way most vegetables don’t.
Harvest Fresh, Edible Grain
Unlike ornamental grasses, wheat actually feeds you.
Once harvested, those little kernels (called wheat berries) can be milled into flour for:
- Bread
- Pancakes
- Muffins
- Crackers
- Pasta
- Even feeding your sourdough starter
Fresh-milled flour has a richness and flavor you won’t find in store-bought bags.
Wheat Improves Your Soil (Quietly)
Wheat roots run deeper than most garden crops.
As they grow, they loosen compacted soil and create pathways for air and water. When the roots break down, they leave behind organic matter that improves soil over time.
It’s doing work underground that you don’t even see.
You Get Free Compost Material
After harvest, don’t toss the stalks. Wheat straw is one of the best carbon-rich browns you can add to your compost heap. It balances kitchen scraps beautifully and can double as mulch around your garden beds.
It Brings Life Into the Garden
Even a small patch of wheat invites more biodiversity.
You’ll see beneficial insects move in, soil life improve, and birds start showing interest—especially if you leave a few edges a little wild.
It Doubles as a Cover Crop
Plant wheat in the fall, and it protects your soil all winter long.
It helps:
- Prevent erosion
- Suppress weeds
- Hold nutrients in place
All while quietly getting ready for a summer harvest.
Kids Absolutely Love It
If you’ve got kids or grandkids, this is one of those “wow” projects.
Watching wheat turn into flour—and flour into bread—feels a little like magic.
It’s Easier Than You Think
Here’s the part most people don’t expect:
Wheat is low-maintenance.
Once it’s up and growing, it mostly takes care of itself.
How Much Wheat Do You Need?
Let’s keep it practical.
A typical sourdough loaf uses:
- 500–600 grams of flour
- Which comes from about 1 pound of wheat berries
So how much can you actually grow?
Backyard Wheat Yield Estimates
This is where expectations meet reality—in a good way.
As a general rule:
- 100 square feet of wheat → about 3–6 pounds of grain
- That’s roughly 3–6 loaves of bread
Here’s what that looks like in real life:
- A 4×8 raised bed → about 1–2 loaves
- A small garden plot (200–300 sq ft) → several baking sessions
My advice? Start small in your first year.
Even one loaf made from your own wheat feels like a huge win. As someone who hasn’t grown wheat yet, I’m starting with a single raised bed this fall — one or two loaves feels like the perfect first goal. And yes, my sourdough recipe is coming to the recipe section soon.
Choosing the Right Wheat Variety
Not all wheat behaves the same in the kitchen.
Hard vs. Soft Wheat
- Hard wheat → higher protein → best for bread
- Soft wheat → lower protein → better for pastries and pancakes
If your goal is sourdough, go with hard wheat.
Spring vs. Winter Wheat
-
- Winter wheat, planted in the fall
- Higher yields
- Lower maintenance
- Best for mild climates
- Spring wheat, planted in early spring
- Good for colder regions
If you’re gardening in a place with mild winters, winter wheat is hard to beat.
When and Where to Plant Wheat
Timing
- Fall planting: October–December (ideal)
- Spring planting: February–March
Wheat prefers cool weather to get established.
Location
Give it:
- Full sun (6–8 hours)
- Well-draining soil
- Moderate fertility
Too much fertilizer—especially nitrogen—means more leaves, less grain.
How to Plant Wheat (No Precision Required)
This is one of the easiest planting jobs in the garden.
- Loosen the top layer of soil
- Scatter seeds by hand
- Lightly rake them in (about 1 inch deep)
- Water well
That’s it. Wheat actually prefers to grow a bit crowded—it helps the stalks support each other.
Caring for Your Wheat
Once it’s growing, there’s not much to do. Try to keep it less buggy.
Watering
- Keep the soil lightly moist early on
- After that, rainfall usually does the job
Weeding
- Wheat crowds out most weeds naturally
- One early pass is usually enough
Fertilizing
- Compost before planting is plenty
- Skip heavy feeding
When Is Wheat Ready to Harvest?

You’ll know it when you see it.
Look for:
- Golden brown stalks
- Dry, brittle seed heads
- Hard kernels
Try biting a grain—if it’s firm and not soft, you’re good to go.
How to Harvest and Process Wheat
No fancy equipment needed. But, here is a good list of stuff you might want:
Step 1: Cut the Stalks
Use shears, a knife, or scissors for small patches. Bundle loosely.
Step 2: Let It Dry
Hang or lay bundles in a dry place for 1–2 weeks.
Step 3: Threshing
Separate grain from stalk by:
- Beating bundles in a bin
- Rubbing heads by hand
- Using a pillowcase and giving it a few good whacks
Messy? Yes. Worth it? I have heard, also yes.
Step 4: Winnowing
Pour grain between containers in a light breeze or in front of a fan.
The chaff blows away. The grain drops.
It’s one of those simple, satisfying moments.
Milling Your Wheat Into Flour
Now the transformation really begins.
Your Options
- Grain mill (best results)
- High-powered blender
- Hand-crank mill

If you want to experience fresh-milled flour before investing in equipment, seek out a local mill or artisan bakery — in North County San Diego, I found one that lets you buy direct. That first smell of fresh flour — nutty, slightly sweet, almost alive — is what convinced me this project was worth doing.
Baking Your First Backyard Loaf
Here’s the thing about fresh-milled flour—it behaves a little differently.
- It absorbs more water
- It ferments faster
- It has a deeper flavor
If you bake sourdough, start with:
- 20% fresh-milled flour
- 80% organic bread flour
Then slowly increase as you get comfortable.
Quick Shopping List for Growing & Milling Wheat
Growing
- Wheat seeds (hard red or hard white)
- Rake
- Hose or watering can
- Compost (optional)
Harvesting
- Garden shears or scissors
- Twine or string
- Bucket or bin
Processing (Threshing & Winnowing)
- Large container or bucket
- Pillowcase (optional but helpful)
- Box fan (or natural breeze)
- Two bowls or buckets
Milling
- Grain mill (electric or hand-crank)
- or
- High-powered blender
Baking (Optional)
- Kitchen scale
- Dutch oven
- Bench scraper
The Part No One Talks About (But Should)
The first loaf you bake from either your own wheat or a brand that is organic and artisanal?
It might not be perfect. And that’s kind of the point. Slowing things down and taking all day to get the perfect fermentation. Understanding the full process, from planting seeds, to planting, to drying and milling – that is what goes into something as simple as bread.
Final Thoughts: Why This Project Stays With You
Growing wheat won’t replace your grocery store flour.
But I’m already starting to see it differently — and I haven’t even planted my first seeds yet. Researching this guide changed how I look at a bag of flour. The smell of fresh-milled grain at a local mill, the feel of wheat berries in your hands — these small things shift something.
I’ll be planting my first patch this fall. I’ll report back with the real numbers, the real mistakes, and hopefully, a loaf worth sharing.
Share this post
Table of Contents
- Have You Ever Wondered If You Could Grow Your Own Flour?
- Why Grow Wheat at Home?
- You’ll Experience the Entire Food Journey
- Wheat Adds Beauty to the Garden
- Harvest Fresh, Edible Grain
- Wheat Improves Your Soil (Quietly)
- You Get Free Compost Material
- It Brings Life Into the Garden
- It Doubles as a Cover Crop
- Kids Absolutely Love It
- It’s Easier Than You Think
- How Much Wheat Do You Need?
- Backyard Wheat Yield Estimates
- Choosing the Right Wheat Variety
- Hard vs. Soft Wheat
- Spring vs. Winter Wheat
- When and Where to Plant Wheat
- Timing
- Location
- How to Plant Wheat (No Precision Required)
- Caring for Your Wheat
- Watering
- Weeding
- Fertilizing
- When Is Wheat Ready to Harvest?
- How to Harvest and Process Wheat
- Step 1: Cut the Stalks
- Step 2: Let It Dry
- Step 3: Threshing
- Step 4: Winnowing
- Milling Your Wheat Into Flour
- Your Options
- Baking Your First Backyard Loaf
- Quick Shopping List for Growing & Milling Wheat
- Growing
- Harvesting
- Processing (Threshing & Winnowing)
- Milling
- Baking (Optional)
- The Part No One Talks About (But Should)
- Final Thoughts: Why This Project Stays With You
About the Author

Nicole Stark
Nicole started The Bright Garden after years of hands-on learning in her own backyard, where she fell in love with healthy soil, native plants, and gardening the natural way. She shares honest, experience-based tips and enjoys time outdoors — gardening, fishing, and slow living with family. Gardening style: Organic, a little wild, always evolving. Current favorites: Worm bins, pollinator plants, backyard dinners.
Interactive Guides


All categories
More From The Garden


Disclosure: This post may contain affiliate links. That means if you click and buy, The Bright Garden may earn a small commission, at no extra cost to you. We only recommend products we’ve vetted and believe will benefit our readers.