Plant Garlic The Easy Way: A No-Fuss Growing Guide
Growing Guides How To's Vegetables
Let’s cut to the chase: garlic is one of the easiest things you’ll ever grow in a garden. You don’t need a PhD in soil science or some picture-perfect raised bed. You just need a couple of good seed cloves, a patch of soil, and the willingness to stick them in the ground during fall and wait.
I’ve planted garlic in every kind of setup — raised beds, containers, awkward little side-yard rows. Some years I’ve mulched it like a champ, other years I’ve half-forgotten it until spring. And you know what? It still grows. Garlic is forgiving like that. It’s one of the few plants that doesn’t seem to hold a grudge when life gets busy.
Three Steps to Garlic That Grows

Step One: Use the Right Garlic (Not That Grocery Store Stuff)
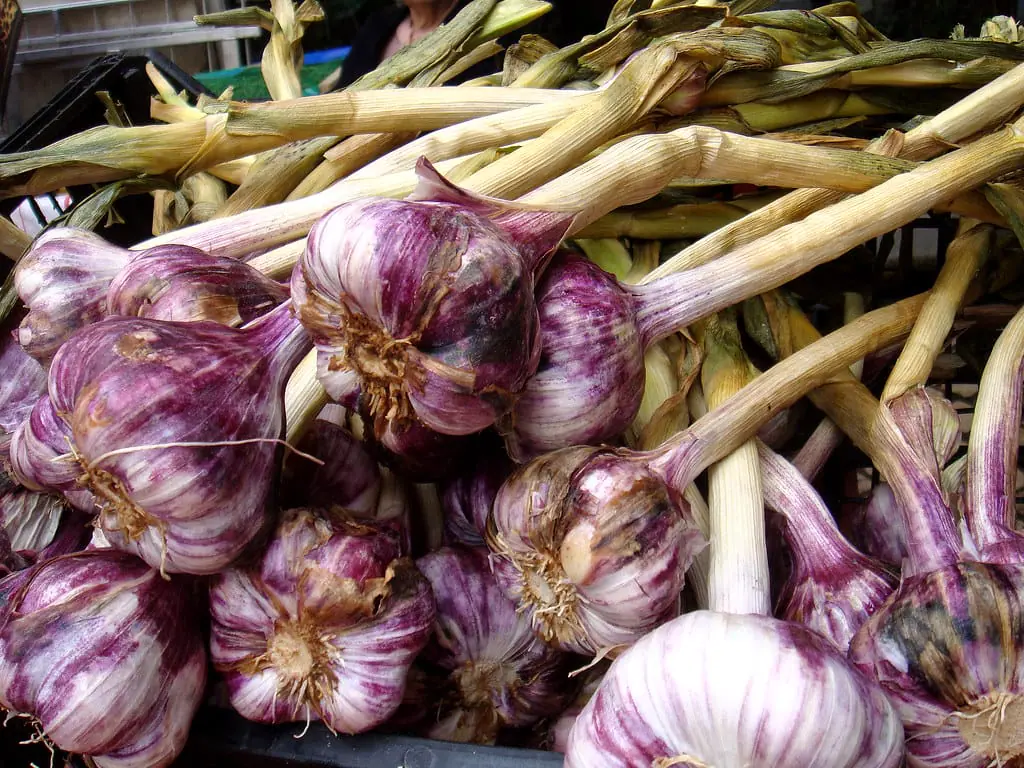
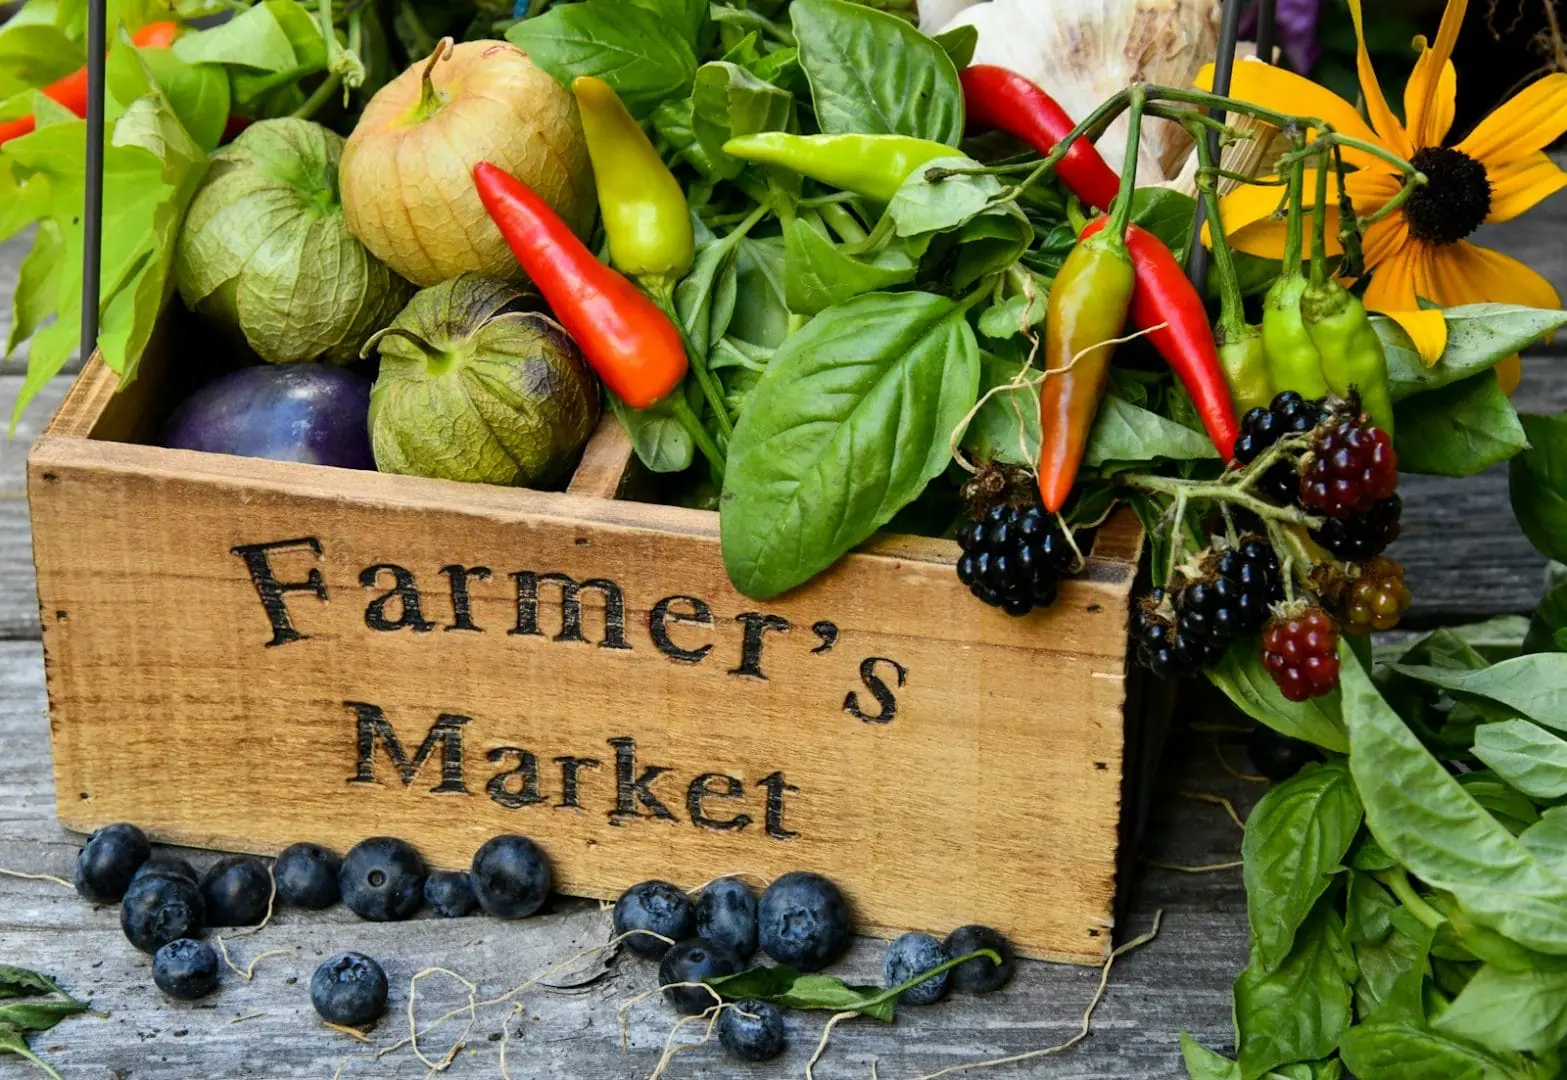
I totally get the urge! You see that half-head of garlic on your counter and think, “Why not plant it?” But hold on! That grocery store garlic might not sprout or thrive in your climate, and if it was imported from another country, it could have been genetically compromised, never to sprout at all. Instead, look for garlic bulbs that are specifically grown and selected for planting, rather than eating. This is called ‘seed garlic’. Local nurseries, farmers’ markets, or organic seed companies are ideal places to search! You get a two-for here, supporting your local growers and ensuring your garlic garden flourishes!
A simple breakdown of garlic varieties:
Hardneck garlic grows best in colder climates. In the spring, it produces scapes, which are tasty, curly shoots with a garlicky flavor that can be eaten.
Softneck garlic thrives in warmer climates and has a longer storage life. This is the type of garlic you often see in decorative braided bunches.
Break the bulb apart into individual cloves, but don’t peel them. Keep that paper on. Use the biggest cloves you can — those grow into the biggest heads. The tiny ones? Toss them in dinner.
Step Two: Plant in Fall (and Mulch the Heck Out of It)
Garlic’s a fall crop, which surprises a lot of new gardeners. You plant it after the summer garden has been harvested, but before the ground freezes. Where I live, that’s usually mid to late October. Got a patch of dirt that drains well? That will do! Don’t pick a spot where water pools after it rains. Garlic doesn’t like wet roots.
Here’s the process:
Aerate the soil and mix in some compost. If you have worm castings, add some as well. I often raid my worm bin for worm castings when planting garlic every year.
Plant the cloves with the rounded end facing down, about 2 to 3 inches deep and 4 to 6 inches apart. These are just estimates and the garlic won’t mind if they are closer or further apart, just not right on top of each other.
Once you’ve planted the cloves, cover them with a thick layer of mulch. You can use straw, shredded leaves, pine needles, or even chopped-up weeds (as long as they haven’t gone to seed). Mulching helps suppress weeds, retain moisture, and protect the cloves from freezing during the winter.
After that, you’re done for now. Enjoy a warm drink and take a moment to relax—you’ve earned it!
Step Three: Leave It Alone (Mostly)
This is the part I love. Garlic doesn’t need a babysitter.
In spring, little green shoots will start poking up through the mulch. That’s your garlic waking up. From then on, keep the weeds in check and water when the plants need it. Garlic won’t thrive in cracked, bone-dry soil, but it doesn’t want to be soggy either. A nice middle ground.
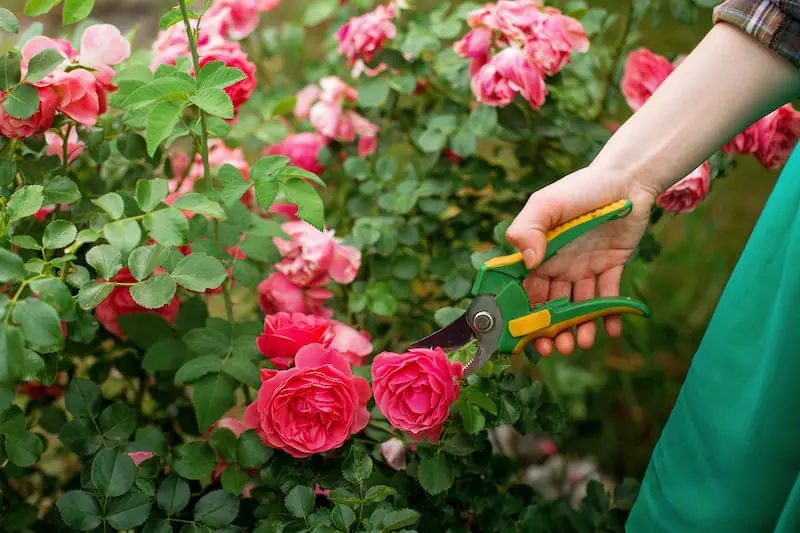
If you planted hardneck garlic, you’ll see curly green scapes in early summer. Cut them off once they start to curl — not only are they delicious, but it also sends a signal the plant to send more energy into growing the bulb and not the flower.
By midsummer, the plant will start to look tired. The lower leaves turn brownish and dry up. When about half the plant has browned but a few green leaves remain at the top, that’s your harvest window.
Use a digging or spading fork to gently lift the bulbs — don’t yank them out by the stems like a stubborn weed. Garlic bruises easily, and you want those skins intact for storage.
Lay them out somewhere dry and shady to cure — a garage, a porch, even under a tree if it’s not raining. You can also hang them like my brother-in-law does. After two or three weeks, brush off the dirt, snip the stems and roots, and stash them in a cool, dry place.
Boom. Garlic, grown by you.

Why I Keep Growing Garlic (Even in the Years I Swear I’ll Downsize)
There comes a point each summer when I think, “Maybe next year I’ll grow a little less.” But then I remember garlic.
Garlic doesn’t require much space and asks very little from you. In return, it gives back generously. A single clove can grow into a full head, bursting with rich, pungent flavor that makes store-bought garlic taste bland by comparison.
There’s something deeply satisfying about using garlic you’ve grown yourself. Whether you toss it into a pan of sizzling olive oil, add it to soup, or roast it whole until it spreads like butter, it connects you to your food in the best way.
Final Thought: Just Try It
If you’re wondering if you should be in front of the fence, behind it, or just sitting on it, I get it (the wall that is). Maybe it feels like one more thing to manage in the garden. But honestly, garlic is the opposite of fussy. It’s the kind of crop that rewards procrastinators and over-mulchers. It plays nice with compost and doesn’t need fancy fertilizers or weekly check-ins.
You plant it in the fall, forget about it over winter, give it a little love in spring, and then harvest it in flip-flops with dirt under your fingernails.
What’s not to love?
Go find some seed garlic cloves. Plant them. And next summer, when you’re holding your homegrown garlic in your hands, you’ll wonder why you didn’t start sooner.
Garlic Growing FAQ (Because Someone Always Asks)
Q: When is the best time to plant garlic?
In most regions, garlic is best planted in the fall, 4–6 weeks before the ground freezes. This gives it time to establish roots before winter dormancy. (Source: University of Minnesota Extension)
Q: Can I grow garlic in containers or small spaces?
Absolutely. Garlic grows well in containers as long as there’s at least 6 inches of soil depth, good drainage, and full sun. Just don’t crowd the cloves.
Q: What type of garlic should I plant for my climate?
- Hardneck garlic: Ideal for cold northern climates. Produces scapes and is easier to peel.
- Softneck garlic: Better for warmer southern zones. Stores longer and is often used for braiding.
(Source: Oregon State University Extension)
Q: How do I cure garlic after harvest?
Lay bulbs out in a dry, shaded, well-ventilated space for 2–3 weeks. Avoid direct sun. Once the outer skins are papery and dry, trim roots and tops. (Source: University of California Agriculture and Natural Resources)
Q: Why grow garlic at home when it’s so cheap to buy?
Store-bought garlic is often imported, sometimes irradiated, and may lack flavor. Homegrown garlic offers better taste, variety, and freshness — plus, it’s surprisingly low-maintenance.
Share this post
Table of Contents
About the Author

Nicole Stark
Nicole started The Bright Garden after years of hands-on learning in her own backyard, where she fell in love with healthy soil, native plants, and gardening the natural way. She shares honest, experience-based tips and enjoys time outdoors — gardening, fishing, and slow living with family. Gardening style: Organic, a little wild, always evolving. Current favorites: Worm bins, pollinator plants, backyard dinners.
Interactive Guides


All categories
More From The Garden


Disclosure: This post may contain affiliate links. That means if you click and buy, The Bright Garden may earn a small commission, at no extra cost to you. We only recommend products we’ve vetted and believe will benefit our readers.