From Grass to Greens: How to Turn Your Yard into an Edible Garden
Garden Design Lawn & Grasses Raised Bed Garden
Grow Your Food, Not Your Grass
Oh, this is a fun topic —because it’s basically about trading in a gas-guzzling, time-eating patch of green for a living grocery aisle right outside your back door.
Why Lawns Can Be a Drag
Traditional grass lawns are thirsty. A standard suburban lawn can gulp up thousands of gallons of water a year just to stay green—water that could be feeding fruit trees, peppers, or juicy tomatoes instead. Then there’s the mowing: every weekend you’re pushing (or riding) around a machine just to keep something trimmed that gives nothing back. Toss in weed killers and fertilizers, and suddenly this “green space” is guzzling resources while producing zero food.
Imagine a Homegrown Marketplace
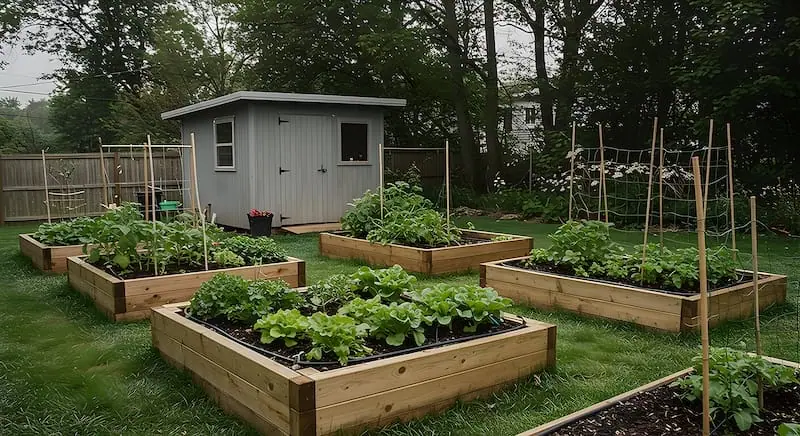
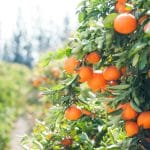
Now swap that grass out for raised beds, berry bushes, espaliered apple trees along the fence, maybe even a grapevine curling up a trellis. Instead of mowing, you’re strolling outside to grab salad greens, snip fresh basil, or pluck a handful of raspberries for dessert. Your yard becomes less “chore” and more “harvest.” It’s like having a personal farmers’ market—except you don’t need to stand in line or hand over cash.
Good for the Planet, Too
Growing food at home isn’t just yummy for your pantry—it’s a small climate solution. Every cucumber you grow is one less cucumber shipped across states in a truck. Pollinator-friendly gardens boost bees and butterflies—no need for chemical fertilizers when you’ve got compost feeding the soil. And when you’re cutting back on lawn watering, you’re conserving fresh water—a resource that’s only getting scarcer.
The Hidden Bonus
There’s also something grounding (literally!) about watching a seed sprout into something edible. Kids start to understand where food comes from, neighbors stop by to chat over the tomatoes, and suddenly that patch of earth is part of your family’s story rather than just a patch you mow on Sundays.
Let’s roll up our sleeves and imagine a first-year starter plan that eases you into transforming the lawn into an abundance.
Step 1: Shrink the Grass Bit by Bit
Don’t feel like you need to bulldoze the whole lawn overnight. Start by choosing one section—maybe the front corner, the strip along the driveway, or a sunny rectangle out back. This approach gives you a manageable patch to test and learn from.
- Easiest method: Lay down cardboard or thick newspaper over the grass, then top with compost and mulch. This technique smothers the grass and builds soil life underneath without heavy digging.
Step 2: Build Your First Growing Zones
Think of your yard as a mini-village, with each “district” having a distinct role.
- Raised Beds (4×8 feet): Two to three beds for annuals like lettuce, carrots, beans, and zucchini. Easy to manage and high turnover for constant harvests.
- Berry Patch: A row of raspberries or blueberries along a fence line—perennials that give for years.
- Herb Spiral or Corner: Herbs (thyme, basil, oregano, chives) near the kitchen door so you can snip while cooking.
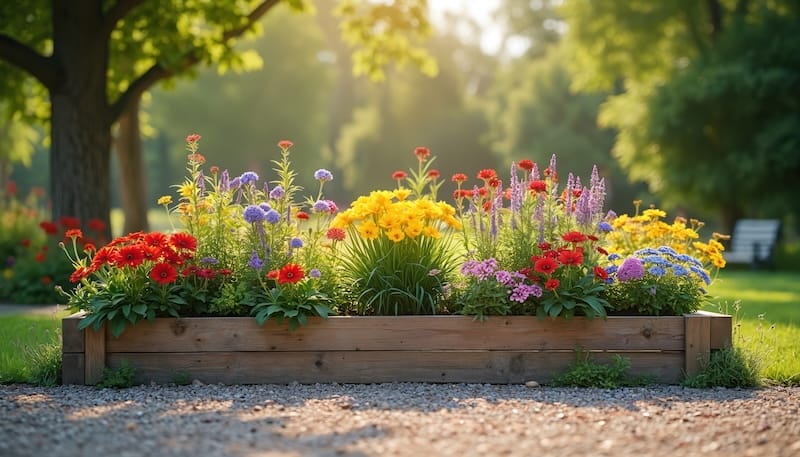
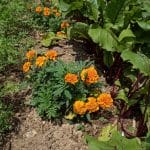
- Pollinator Strip: A border of flowers like calendula, echinacea, or sunflowers—pretty, but also bee magnets.
Step 3: Water Wisely
Ditch the lawn sprinklers. Instead:
- Run a soaker hose or drip irrigation through the beds.
- Mulch heavily to keep soil cool and moist.
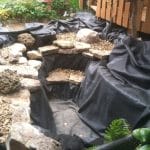
- Collect rainwater in a barrel if you can—plants love it.
Step 4: Choose “First-Year Hero Crops”
Stick with forgiving plants that reward you fast:
- Greens: Lettuce, kale, spinach (quick harvests, keeps you motivated).
- Tomatoes & Peppers: Crowd-pleasers with significant yield.
- Zucchini: A plant that will test how many zucchini recipes your family can invent.
- Strawberries: Instant joy, especially for kids.
- Herbs: Basil, parsley, rosemary, mint (low effort, high payoff).
Step 5: Soil Love & Compost
Start a simple compost pile or bin. Even leaves + kitchen scraps = black gold. Composting reduces waste and helps fuel next year’s beds.
Step 6: Expand Year by Year
Next season, add another bed, a dwarf fruit tree, or a trellis for cucumbers. Little by little, the grass shrinks, and your edible landscape grows. Before long, the mower will be gathering dust while you’re gathering salad.
Here’s the before-and-after comparison:
- Left: a plain lawn, all grass and maintenance.
- Right: the first-year edible garden with raised beds, berry patch, herbs, pollinator strip, mulch paths, and a stepping stone walkway to compost.
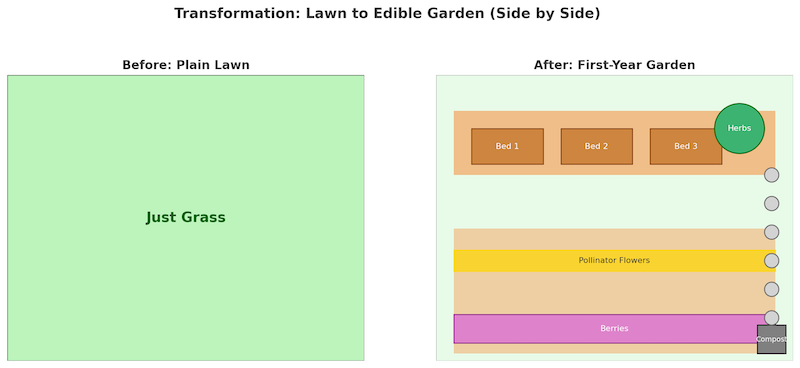
It really shows how much more alive and purposeful the space becomes once you swap mowing for growing.
What you put between the growing spaces makes a huge difference in how enjoyable (or muddy!) your garden feels. You’ve got a few fun options depending on style and budget:
1. Keep Some Grass (Low Effort)
- Pros: No extra work right now—mow the paths shorter.
- Cons: Lawns will creep into your raised beds unless you edge them. Still requires watering and mowing.
2. Mulch Paths (Most Common First Step)
- Spread wood chips, bark, or straw between beds.
- Looks tidy, keeps weeds down, and is soft underfoot.
- Needs topping up every year or two as it decomposes (which actually improves your soil over time).
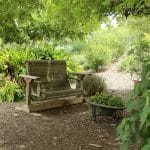
3. Stepping Stones or Pavers (Durable + Stylish)
- Create “walkways” with flagstone, bricks, or concrete pavers.
- Low maintenance, easy to wheelbarrow across, and keeps feet clean.
- You can plant thyme or creeping oregano in between the stones for edible groundcover that smells amazing when stepped on.
4. Gravel Paths (Clean + Low Weeds)
- Pea gravel or crushed stone makes a neat, permanent path.
- Needs a weed barrier underneath.
- Great if you want a crisp look with less seasonal upkeep.
Many gardeners opt for a mix: mulch around the raised beds (cheap and earthy) and a few stepping stones leading to the compost or berry patch for added ease. It balances practical and pretty.
To me, this sounds dreamy, and I am a big fan of growing food and flowers. My dogs prefer a big lawn to tear up and make stinky, and because they are girls, they leave burn marks for me to repair. However, that is a different blog, which you can find at The Bright Garden!
FAQ: Turning Lawns into Edible Gardens
Why are traditional grass lawns considered wasteful?
How does growing food at home help the environment?
What are the first steps to replacing a lawn with a garden?
Do edible gardens really save water compared to lawns?
What foods are best for a beginner edible garden?
Share this post
Table of Contents
- Grow Your Food, Not Your Grass
- Why Lawns Can Be a Drag
- Imagine a Homegrown Marketplace
- Good for the Planet, Too
- The Hidden Bonus
- Step 1: Shrink the Grass Bit by Bit
- Step 2: Build Your First Growing Zones
- Step 3: Water Wisely
- Step 4: Choose “First-Year Hero Crops”
- Step 5: Soil Love & Compost
- Step 6: Expand Year by Year
- 1. Keep Some Grass (Low Effort)
- 2. Mulch Paths (Most Common First Step)
- 3. Stepping Stones or Pavers (Durable + Stylish)
- 4. Gravel Paths (Clean + Low Weeds)
- FAQ: Turning Lawns into Edible Gardens

Nicole Stark
Nicole started The Bright Garden after years of hands-on learning in her own backyard, where she fell in love with healthy soil, native plants, and gardening the natural way. She shares honest, experience-based tips and enjoys time outdoors — gardening, fishing, and slow living with family. Gardening style: Organic, a little wild, always evolving. Current favorites: Worm bins, pollinator plants, backyard dinners.
All categories
Backyard Bliss
Bad Bugs
Birds & Bees
Conservation
Container Gardening
Decor
DIY Projects
Eco Systems
Farm To Table
Fertilizing & Nutrition
Flowers
Fruit
Fungi
Garden Design
Gardening for Beginners
Good Bugs
Growing Seasons & Zones
Guides
Hardscape
Herbs
How To's
Hydroponics
In The Garden
Lawn & Grasses
Organic Gardening
Outdoor Living
Palms And Cycads
Pests & Diseases
Planting
Ponds & Water Features
Pruning
Raised Bed Garden
Recipes
Seeds
Soil
Trees & Shrubs
Vegetables
Watering
Weeds
Worms
More From The Garden


Disclosure: This post may contain affiliate links. That means if you click and buy, The Bright Garden may earn a small commission, at no extra cost to you. We only recommend products we’ve vetted and believe will benefit our readers.