The Easy Way to Grow Potatoes in Raised Beds
Container Gardening Soil Vegetables
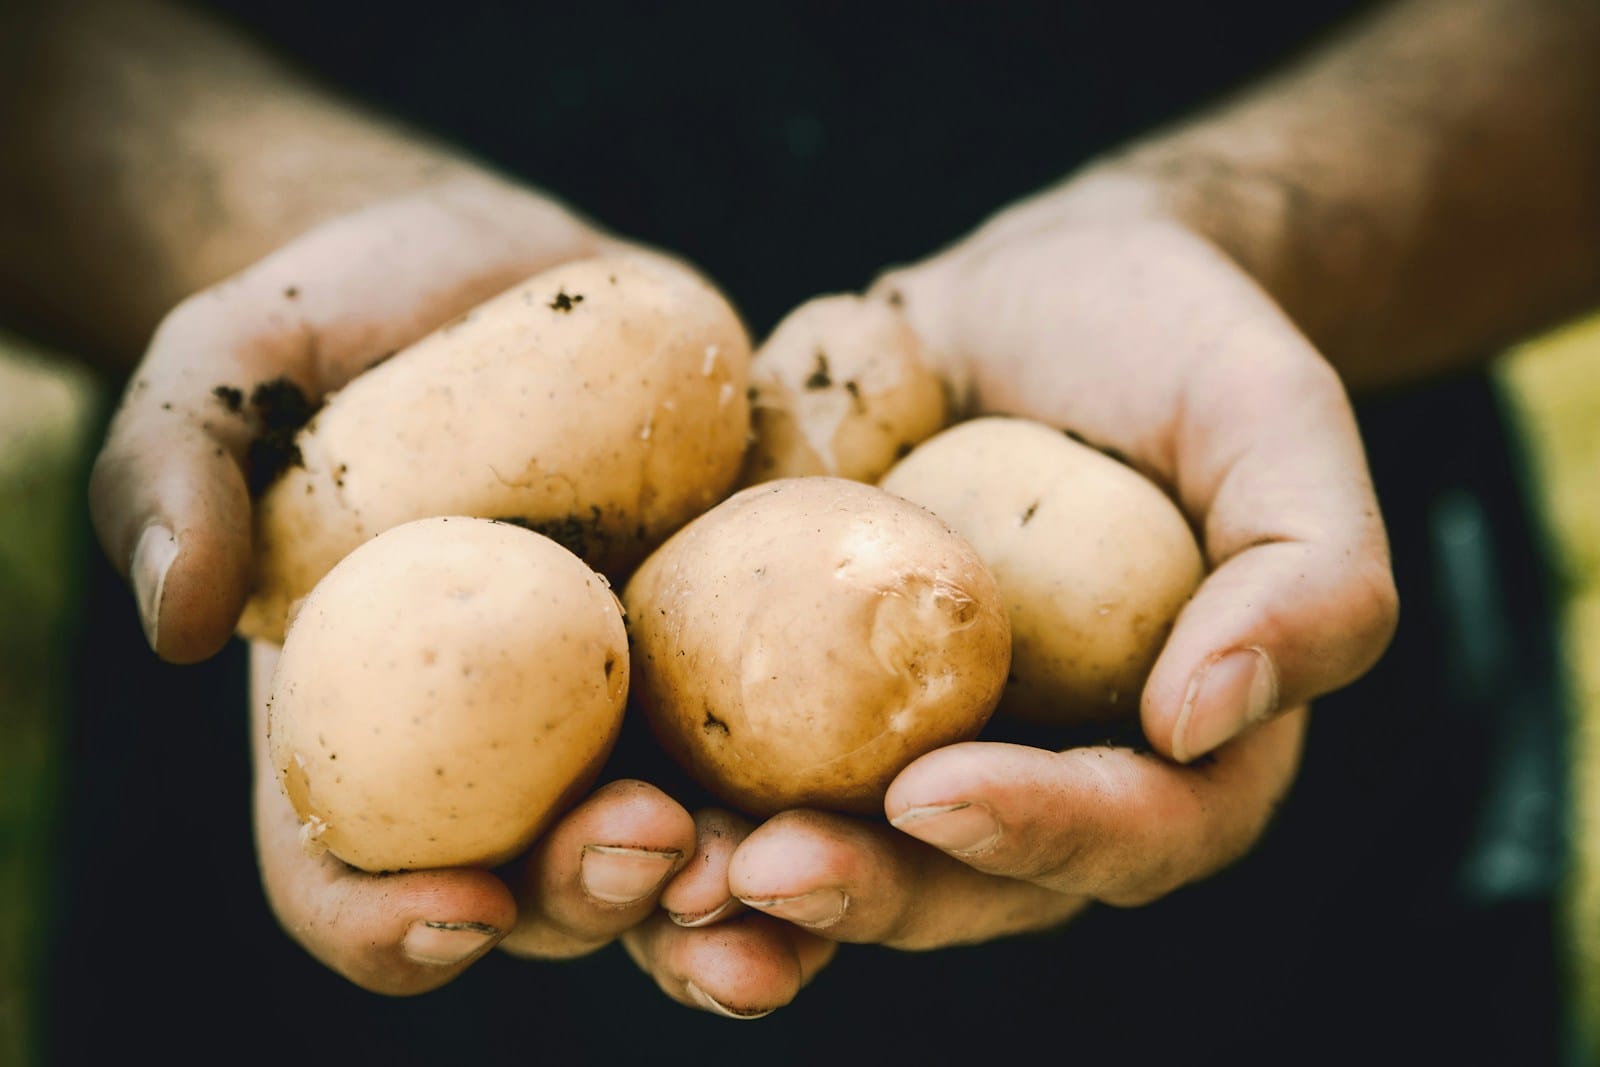
If you’ve never grown potatoes in raised beds, let me tell you — you’re missing out on one of gardening’s easiest wins. I used to think potatoes were one of those crops best left to folks with acreage and a tractor. But once I gave them a try in my raised beds? Game-changer. They practically grew themselves, and harvesting was like digging for buried treasure.
Let’s walk through the how-to, so you can see for yourself just how simple (and satisfying) it really is.
Why Potatoes Love Raised Beds
Potatoes like loose, well-drained soil — which is exactly what raised beds are great at. Unlike heavy garden soil that compacts easily, a raised bed gives you control. You can mix in compost, loosen things up, and give those tubers room to stretch out and multiply.
Plus, raised beds warm up faster in spring. That’s a big deal, especially if your growing season’s on the shorter side. I’ve found that I can get my potatoes in the ground a couple weeks earlier than if I were planting straight in the yard.
And let’s not forget: no more deep trench digging. My back thanks me every season.
Picking the Right Potato (Yep, It Matters)
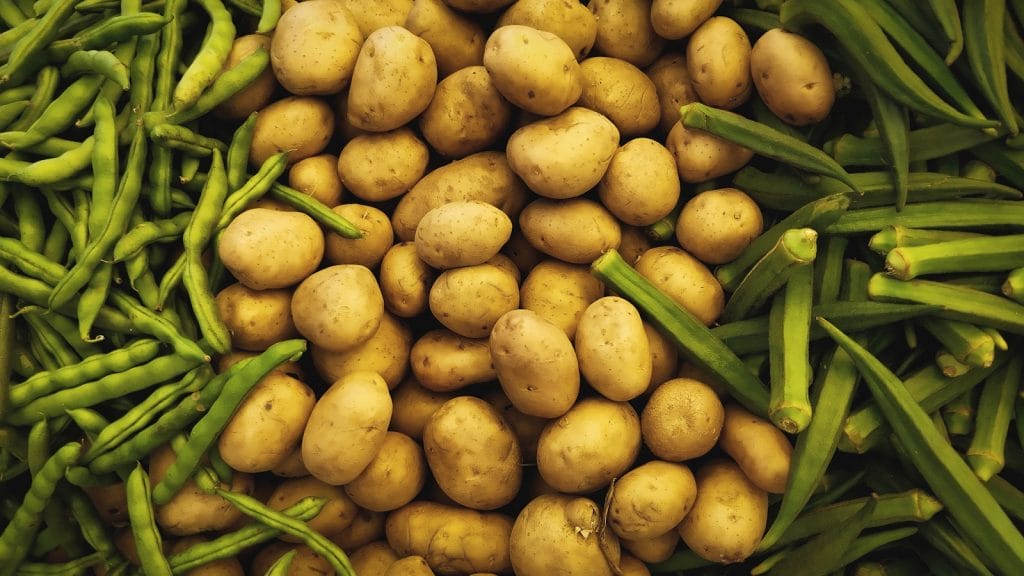
There are two main types of potatoes you’ll see at the garden center: early and late season. Early types like Yukon Gold are ready faster, usually in 70-90 days. Late-season varieties like Russet or German Butterball take longer but often produce more.
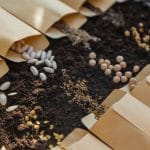
I grow both — early ones for fresh eating in early summer, and late ones for storing into fall. If you’re just starting, try a small bag of seed potatoes (don’t plant grocery store ones — they’re often treated to prevent sprouting).
And yes, seed potatoes can be cut into chunks if they’ve got a few eyes each. Just let the cut sides dry for a day or two before planting so they don’t rot in the soil. I learned that the hard way once — mushy mess and all.
How to Plant Potatoes in Raised Beds
Here’s how I do it:
- Prep the soil. I mix compost into the bed first — the good, crumbly stuff from my bin or worm castings if I’ve got some on hand. Potatoes are hungry plants, so don’t skimp on the food.
- Dig shallow trenches or holes about 4 inches deep and a foot apart. Lay your seed potatoes in cut side down, eye side up. Cover them with soil.
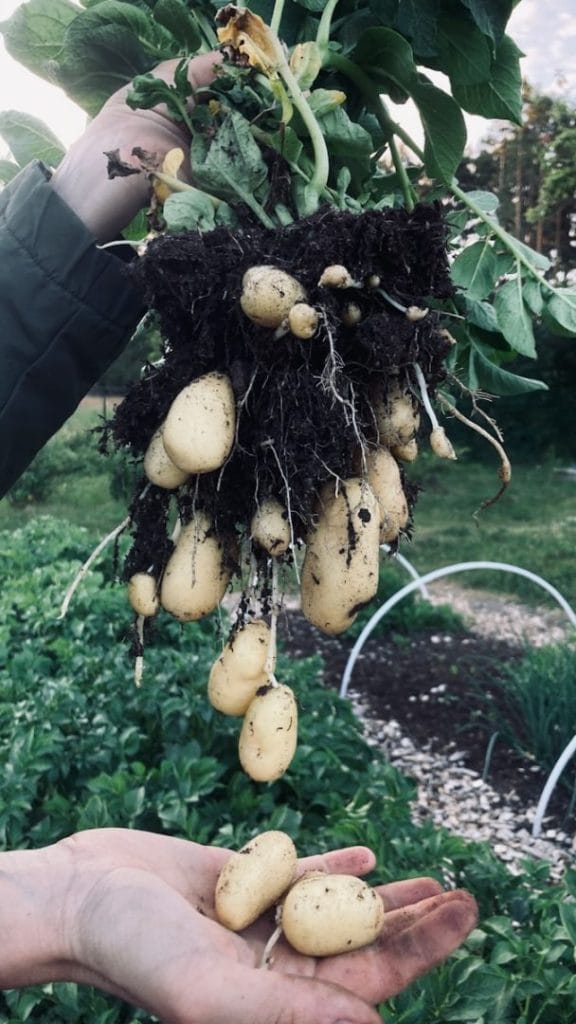
- Don’t fill the whole bed right away. As the potato plants grow, I “hill” them — adding more soil or mulch around the stems every week or two. This encourages more tubers to form along the buried stem. In a raised bed, that just means topping them off with more compost or straw. No hoeing required.
Honestly, hilling is the closest thing to magic I’ve seen in gardening. One season I skipped it because life got busy — yields were half what they usually are. Lesson learned.
Watering and Feeding (Keep It Simple)
Potatoes like steady moisture, especially once the plants are about a foot tall and starting to flower — that’s when they’re forming tubers underground. I water deeply a few times a week, depending on the weather. Raised beds dry out faster than in-ground beds, so check with your finger often.
Too much water can rot the tubers, and too little means tiny potatoes. You’re looking for that Goldilocks zone — evenly moist, not soggy. If I can stick my finger in and feel damp soil two knuckles down, I skip the hose that day.
I also give them a little boost about halfway through the season — a handful of compost or some fish emulsion diluted in water. Nothing fancy. Potatoes aren’t high-maintenance.
Dealing with Pests (The Organic Way)
The biggest threat in my garden? Colorado potato beetles. Little striped jerks that can defoliate a plant fast. I hand-pick them in the mornings and drop them into a cup of soapy water. It’s grossly satisfying.
Some years they show up, others not so much. If I see them early, I’ll cover the plants with row cover until they flower. After that, I let the ladybugs and birds do their thing. Healthy soil seems to help — I rarely get major infestations anymore since switching to compost-heavy beds and rotating crops each season.
Harvesting: The Best Part
When the plants start to yellow and flop over (usually mid to late summer for early varieties), it’s time. Stop watering a week ahead to let the skins firm up. Then dig in.
I use my hands or a small garden fork to gently sift through the soil. In a raised bed, harvesting is ridiculously easy — no compacted soil, no guesswork. Just scoop and smile.
Don’t be surprised if you miss a few and find volunteer plants the next spring. I call them surprise potatoes.
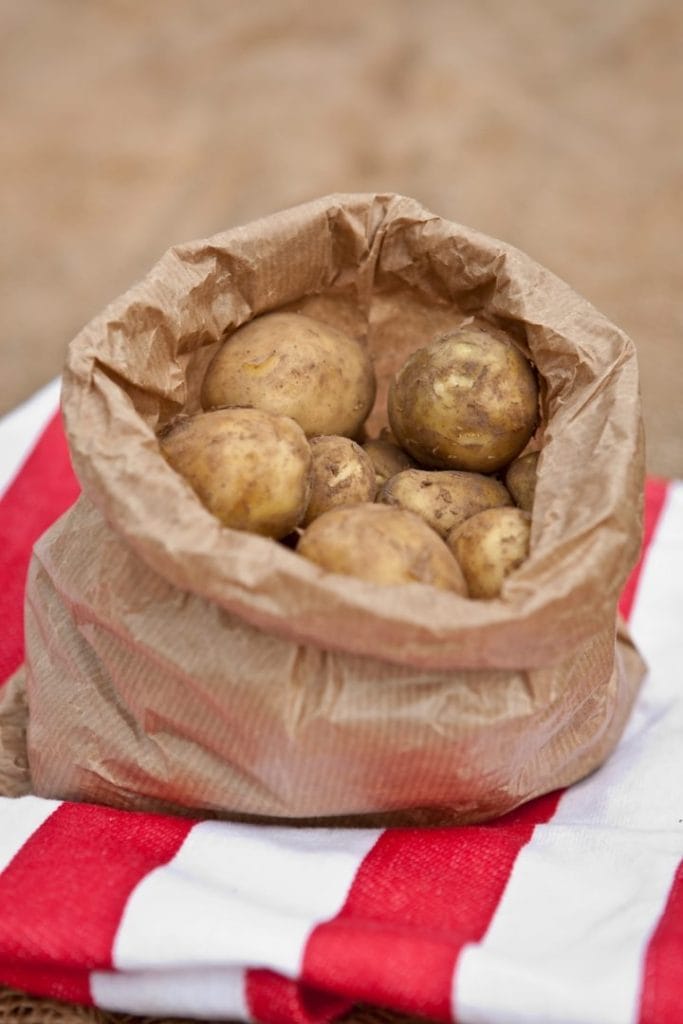
Storage Tips (If They Last That Long)
If you’re planning to store your spuds, let them sit in a cool, dark, dry place for a few days to “cure.” Then keep them somewhere around 40–50°F in the dark — a basement or pantry works fine. I tuck mine into paper bags or baskets.
But honestly? We usually eat ours long before storage becomes a problem. Roasted, mashed, fried — fresh-dug potatoes are next-level delicious.
Final Thought: Give It a Try
If you’ve been hesitant to grow potatoes, raised beds make it just about foolproof. You don’t need a root cellar, a tractor, or a master gardener badge. Just a bit of soil, some compost, a raised bed, and a handful of seed potatoes.
They don’t need babysitting. They’re forgiving. And they give back more than you put in. I’ve grown mine in big metal troughs, wooden beds, even a fabric grow bag once when I ran out of space. Every time, they produced.
Gardening doesn’t always reward you this easily. But potatoes in raised beds? That’s one spot where the effort-to-yield ratio is firmly in our favor.
So go on — tuck a few into your bed this season. You’ll be glad you did when you’re pulling out dinner with dirt still on your hands.
Share this post

Nicole Stark
Nicole started The Bright Garden after years of hands-on learning in her own backyard, where she fell in love with healthy soil, native plants, and gardening the natural way. She shares honest, experience-based tips and enjoys time outdoors — gardening, fishing, and slow living with family. Gardening style: Organic, a little wild, always evolving. Current favorites: Worm bins, pollinator plants, backyard dinners.
All categories
Backyard Bliss
Bad Bugs
Birds & Bees
Conservation
Container Gardening
Decor
DIY Projects
Eco Systems
Farm To Table
Fertilizing & Nutrition
Flowers
Fruit
Fungi
Garden Design
Gardening for Beginners
Good Bugs
Growing Seasons & Zones
Guides
Hardscape
Herbs
How To's
Hydroponics
In The Garden
Lawn & Grasses
Organic Gardening
Outdoor Living
Palms And Cycads
Pests & Diseases
Planting
Ponds & Water Features
Pruning
Raised Bed Garden
Recipes
Seeds
Soil
Trees & Shrubs
Vegetables
Watering
Weeds
Worms
More From The Garden


Disclosure: This post may contain affiliate links. That means if you click and buy, The Bright Garden may earn a small commission, at no extra cost to you. We only recommend products we’ve vetted and believe will benefit our readers.